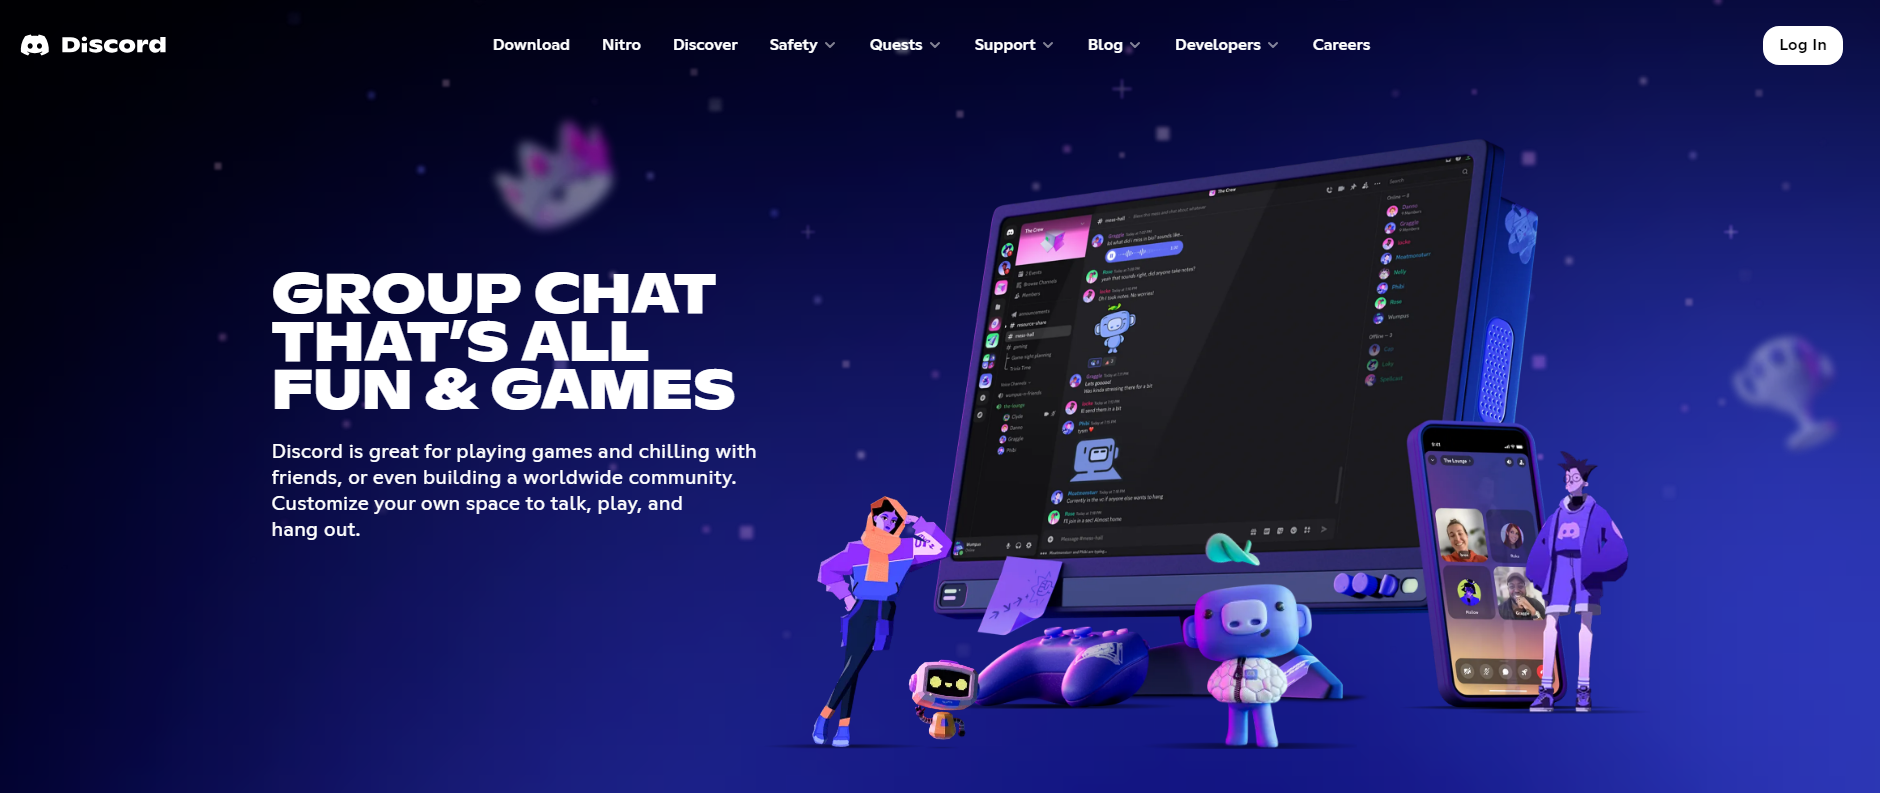
If you haven’t tried Discord Web yet, you’re missing out on an amazing communication tool. Imagine a place where you can chat, call, and even share your screen—all without downloading anything. That’s Discord Web.
Since its launch, Discord Web has become a favorite for gamers, teams, and everyday users alike. It lets you make voice and video calls, manage multiple servers, and stay connected with friends or colleagues. Plus, its privacy settings ensure your information stays secure, and the custom emojis and shortcuts add a fun touch to your experience.
In the following sections, I’ll dive into why Discord Web is the future of online communication.
What is Discord Web? A Quick Overview
If you’ve ever found yourself chatting with friends online or collaborating with a team, you’ve probably come across Discord. But did you know you can use it directly in your web browser? That's what Discord Web is all about. It’s the browser-based version of Discord that lets you access all of its features without the need to download any software. Sounds simple, right?
Now, you may wonder how Discord Web is different from the desktop or mobile apps. Well, while the apps offer similar features, Discord Web allows you to jump right into the action from your browser. You don't have to worry about installing anything or updating apps. It’s all about speed and convenience. Whether you're on a computer at work, using a laptop on the go, or simply don't want to clutter your device with extra apps, Discord Web makes it easy to stay connected.
One of the coolest parts of Discord Web is that it’s super lightweight. It doesn't take up any storage on your device and still offers a seamless experience. You can do all the usual things: send messages, join voice or video calls on Discord Web, share your screen, and even manage multiple servers, all from within your browser. It’s like having your favorite app right there, without all the hassle.
Plus, if you're someone who prefers a clean, no-frills approach to apps, Discord Web is a great solution. You can skip the download process and just log in through your browser to get started. You still get access to all the powerful features, including managing your Discord Web servers, customizing your settings, and using Discord Web's privacy settings to keep things secure.
It’s also worth mentioning that if you’re on a public computer or a device where you can’t install apps, Discord Web is the perfect option. You can still join your favorite voice or video call on Discord Web, message friends, and even share content easily—without the app.
So, whether you’re looking for a quick way to chat with your gaming buddies, jump into a team meeting, or just hang out online, Discord Web is a flexible and easy-to-use option. In the next sections, I’ll dive into all the features Discord Web has to offer and show you how to make the most of it. Stay tuned!
How to Use Discord Web: Voice Calls, Video Calls, Screen Sharing, Shortcuts, Privacy Settings, Custom Emojis, and Notifications
Discord Web is an incredibly versatile platform, making it easy to stay connected with friends, colleagues, or communities. Whether you need to make voice and video calls, share your screen, use shortcuts, or manage your privacy settings, Discord Web has all the features you need for seamless communication. Let’s dive deeper into how you can use all of these features effectively.
Certainly! Here's a comprehensive and detailed guide to optimizing your Discord Web experience, covering voice and video calls, screen sharing, keyboard shortcuts, privacy settings, custom emojis, and notifications:
1. Voice and Video Calls on Discord Web
Voice Calls
To initiate a voice call in Discord Web:
- Navigate to a Direct Message (DM) or a voice channel within a server.
- Click on the phone icon located at the top right corner of the chat window.
- Your call will commence immediately.
- During the call, you can:
- Mute/unmute your microphone by clicking the microphone icon.
- Adjust your input/output volume settings for optimal audio quality.
- End the call by clicking the red phone icon or simply closing the tab.
Video Calls
To start a video call:
- Begin a voice call as described above.
- Click on the camera icon near the phone icon to enable your video.
- To switch between front and rear cameras (on supported devices), click the camera icon again.
In video calls, you can:
- Adjust your camera settings or switch to a different camera if needed.
- Resize your video window or toggle full-screen mode for a better view.
2. Screen Sharing on Discord Web
Screen sharing allows you to share your screen or specific applications with others in a call.
How to Share Your Screen:
- Join a voice or video call.
- Click on the screen icon in the voice status panel at the bottom left corner.
- A window will pop up; select either:
- Your Entire Screen: Shares everything on your screen.
- Application Window: Choose a specific application to share.
4. Click "Go Live" to start sharing.
Note: Audio sharing is currently only available when sharing an application window on Windows 10. Audio sharing is unavailable on Mac and Linux at this time.
3. Keyboard Shortcuts on Discord Web
Using keyboard shortcuts can significantly enhance your efficiency on Discord Web.
Built-in Shortcuts:
- Mute/Unmute: Press Ctrl + Shift + M.
- Open User Settings: Press Ctrl + ,.
- Switch Between Servers: Press Ctrl + 1-9 (each number corresponds to a different server).
- Reply to Last Message: Press Shift + Up Arrow.
- For more advanced customization, you can create your own keybinds
- Go to User Settings > Keybinds.
- Click on "Add a Keybind".
- Choose the action and assign a key combination.
These shortcuts help you navigate Discord Web faster, whether you're switching between servers or adjusting your settings without clicking through menus.
4. Privacy Settings on Discord Web
Protecting your privacy is crucial. Discord Web offers several settings to help you control who can contact you and view your information.
Adjusting Privacy Settings:
- Click on the gear icon at the bottom left to open User Settings.
- Navigate to the Privacy & Safety tab.
- Here, you can adjust:
- Who can send you direct messages (DMs): Choose to only receive DMs from people in your server or friends.
- Who can add you as a friend: Restrict this option to avoid unsolicited friend requests.
- Blocked users: View and manage your blocked users list.
- Additionally, enabling two-factor authentication (2FA) adds an extra layer of security to your account.
5. Custom Emojis on Discord Web
Custom emojis allow you to personalize your messages and express yourself uniquely.
Using Custom Emojis:
- In any server or DM, click the emoji icon in the text box.
- Browse through the available emojis and click on one to insert it.
- To use a custom emoji, type :emojiname: (e.g., :smile:).
Adding Custom Emojis to a Server:
- Go to Server Settings > Emojis.
- Click on "Upload Emoji".
- Select the image file (PNG, JPG, or GIF) and give it a name.
- Click "Save" to add the emoji to your server.
Note: Only users with the "Manage Emojis" permission can upload emojis.
6. Managing Notifications on Discord Web
To ensure you're notified about important messages without being overwhelmed:
- Open User Settings by clicking the gear icon.
- Select Notifications from the left-hand menu.
- Here, you can:
- Mute specific servers: Useful for particularly busy servers.
- Set up mention alerts: Adjust notifications so you only get notified when someone @mentions you or mentions certain keywords.
- Disable sounds: Turn off notification sounds for certain activities.
Managing notifications helps keep your communication organized, ensuring you're notified about what's important without being overwhelmed.
By familiarizing yourself with these features and settings, you can enhance your Discord Web experience, making it more efficient, secure, and enjoyable.
How to Optimize Your Discord Web Experience: Advanced Features and Settings
If you're a regular Discord Web user, you've probably already mastered the basics—voice and video calls, chats, and maybe even screen sharing. But did you know that Discord Web has several advanced features that can really enhance your experience? Let’s dive deeper into these cool settings and tools that will make you a Discord Web pro.
1. Multi-Language Support: Make Discord Web Work for You
Discord Web does not currently support a built-in multi-language interface. Users can change the language of the Discord interface by navigating to User Settings > Language, but this setting applies to the entire Discord application and is not specific to individual servers or channels. For multilingual communities, server administrators often create separate channels for different languages and use bots to assign roles based on language preferences.
2. Permissions Management: Control Who Can Do What
Your explanation of managing permissions is mostly correct. To manage permissions for specific channels or categories:
- Click on the server name at the top of the channel list to open Server Settings.
- Navigate to the Roles tab to create or modify roles.
- To adjust permissions for a specific channel or category:
- Hover over the channel or category name and click the gear icon.
- Go to the Permissions tab.
- Add roles or members and configure their permissions accordingly.
This allows for granular control over who can access and perform actions in each channel or category.
3. Integrate Bots and Plugins: Supercharge Your Server
Your description of adding bots is accurate. To add a bot to your server:
- Visit a trusted bot directory like top.gg.
- Search for the desired bot and click on its page.
- Click the Invite button.
- Select the server you want to add the bot to and click Continue.
- Review and authorize the permissions the bot requires.
- Complete any CAPTCHA verification if prompted.
Ensure you have the necessary permissions (e.g., "Manage Server") to add a bot to a server.
4. Customizing Your Server: Fine-Tune Your Experience
Your steps for customizing the server are correct. To customize your server:
- Click on the server name and select Server Settings.
- From there, you can:
- Change the server icon and banner to make it visually appealing.
- Organize your channel list by creating categories for easier navigation.
- Set up specific permissions for each channel to control who can post, read, or manage content.
- Customization enhances the user experience and helps in organizing the server effectively.

Safety and Privacy Protection: How to Ensure Security on Discord Web
If you’re using Discord Web, chances are you’re chatting with friends, gaming, or even working on projects. But while it’s super fun and useful, Discord Web also involves a lot of personal information. So, how do you keep your account safe and your data private? Let’s walk through some easy ways to make sure you’re using Discord Web securely and protecting your privacy.
Based on the latest official Discord documentation, here are the corrected details for the sections you provided:
1. Adjust Your Privacy Settings on Discord Web
To manage who can send you direct messages or friend requests:
- Open User Settings by clicking the gear icon at the bottom left of your screen.
- Navigate to User Settings > Privacy & Safety.
- Under Friend Requests, you can choose who can send you friend requests:
Everyone
Friends of Friends
Server Members
No One
To control direct messages:
- Under Server Privacy Defaults, you can toggle Allow direct messages from server members.
- To manage message requests:
- Navigate to User Settings > Privacy & Safety > Message Requests.
- Here, you can choose to filter or block messages from non-friends.
2. Enable Two-Factor Authentication (2FA)
To enhance account security:
- Open User Settings by clicking the gear icon at the bottom left.
- Navigate to User Settings > My Account.
- Under Password and Authentication, click Enable Two-Factor Authentication.
- Follow the prompts to set up 2FA using an authenticator app or SMS.
- After setup, it's crucial to save your backup codes in a secure location.
3. Control Who Can See Your Activity
To manage activity visibility:
- Open User Settings by clicking the gear icon at the bottom left.
- Navigate to User Settings > Activity Privacy.
- Toggle Share activity with others to control who can see your activity.
- For specific servers or games:
- Right-click the server name and select Privacy Settings to adjust activity sharing.
- In User Settings > Registered Games, you can toggle activity visibility for individual games。
4. Use Block and Report Features for Extra Protection
To block a user:
- Right-click the user's name in your Friends List or within a DM.
- Select Block.
To report a user or message:
- Right-click the message or user profile.
- Select Report and follow the prompts to specify the type of abuse.
- For reporting under the EU Digital Services Act, you'll need to provide a message URL.
5. Be Cautious with Bots and External Links
To stay safe:
- Only invite trusted bots to your server.
- Be wary of clicking on unfamiliar or unexpected links, even if they appear to come from friends.
- Use tools like VirusTotal to scan suspicious links before clicking.
6. Regularly Check and Update Your Security Settings
To maintain account security:
- Open User Settings by clicking the gear icon at the bottom left.
- Navigate to User Settings > My Account.
- Under Password and Authentication, you can change your password or enable/disable 2FA.
- Regularly review your active sessions and connected devices to ensure there are no unauthorized accesses.
By following these updated steps, you can enhance your privacy and security on Discord Web. If you need assistance with other features or settings, feel free to ask!

Why Managing Multiple Discord Web Servers Can Be Challenging
Running multiple servers on Discord Web comes with its own set of challenges. Each server may have its own community, goals, and structure. Managing these servers requires a mix of organization, communication, and—most importantly—keeping things secure.
For instance, if you’re using one device to manage several Discord Web accounts, there’s always a risk that your accounts could be linked. Discord tracks your device’s fingerprint (like your IP address, browser settings, and device characteristics) to help it connect accounts. This could mean that your personal account and a business or community account might be associated, even if you’re trying to keep them separate.
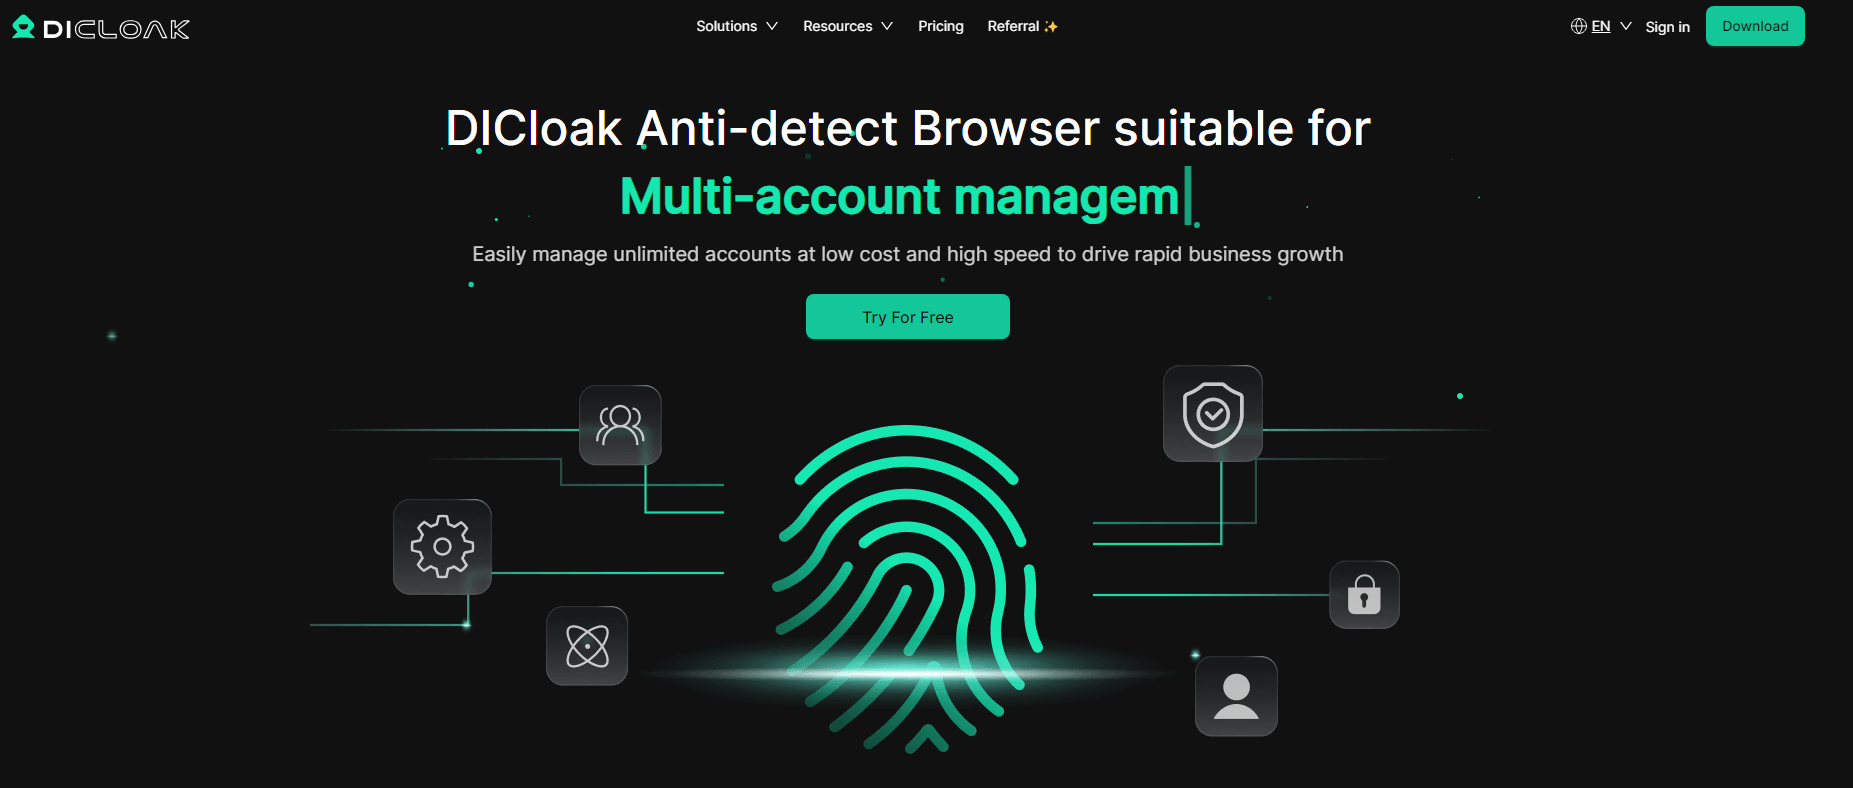
How DICloak Helps Manage Multiple Discord Web Accounts
Here’s where DICloak, a antidetect browser, steps in. DICloak is designed specifically to help you manage multiple accounts without the worry of them being linked. Whether you're handling personal, professional, or community servers, DICloak makes it easy to separate these accounts while maintaining security and privacy.
DICloak is a Antidetect Browser that prevents your Discord Web accounts from being tied together. It works by masking your browser fingerprint, meaning each time you log into a different Discord Web account, DICloak creates a unique fingerprint for each account. This prevents Discord from recognizing that you’re using the same device for different accounts, keeping them completely separate.
Why is This Important?
If you’re managing multiple accounts, you might want to keep them as independent as possible. Maybe you have:
- A personal Discord account for chatting with friends.
- A professional Discord account for work-related discussions.
- A community server for hobbies or interests.
Without DICloak, Discord might link these accounts together, especially if you log into them on the same device or browser. This could lead to cross-server recommendations, account connections, or even account bans if you’re violating Discord’s terms of service (for example, creating fake accounts).
By using DICloak, you can log into each Discord Web account separately, ensuring they remain unconnected and reducing the risk of account suspension or unwanted interactions.

Final Thoughts
Managing multiple Discord Web servers can be tricky, but with the right tools like DICloak, server organization, and shortcut use, it becomes much easier. Keeping your accounts separate, adjusting settings, and staying organized will make your Discord Web experience smooth and efficient.
FAQs
1. What is DICloak?
DICloak is a antidetect browser that helps manage multiple Discord Web accounts by keeping them separate and preventing account linking.
2. How do I create categories in Discord Web?
Right-click on the channel list, select Create Category, and name it to organize channels.
3. Can I mute specific servers?
Yes, you can mute servers by going to Server Settings and selecting Mute Server.
4. What are some useful shortcuts in Discord Web?
- Ctrl + 1-9: Switch servers
- Ctrl + Shift + M: Mute/unmute
- Ctrl + ,: Open settings
- 5. How can I control who can contact me on Discord Web?
In Privacy & Safety settings, adjust who can send DMs, friend requests, or see your activity.
 Web Proxy Tools
 Free Tools
 Cookie Plugin
 UA Generator
 MAC Address Generator
 IP Generator
 IP Address List
 2FA Code Generator
 World Clock
 Anonymous Check
 WebRTC Leak Test
 UUID Generator
 Free Web Proxy Site
 Proxy Checker
 FB Ad Checker
 AI Web Scraping
 Free SMM Tools
 Twitter Shadowban Checker
 Instagram Name Checker
 UTM Generator
 Username Generator
 AI Hashtag Generator
 LinkedIn Headline Generator
 Social Media Image Resizer


